DocumentationiPhone
Scan
Scan is the iPhone camera, pointed at a machine. It reads asset tags, pairing codes and the barcodes on a manufacturer's label, and it is the fastest way to record a machine you are standing in front of.
- For
- Reads asset tags, pairing codes and manufacturer barcodes to record a machine you are standing in front of.
- Will not
- It reads barcodes and printed text but cannot weigh the words beside a value, so a label with several codes offers a chooser rather than guessing.
- Writes
- VERIFY stamps the machine as seen; a verification that did not record says so on the card.
What the camera reads
One viewfinder, three kinds of code, and a rule about which of them is allowed to open a record without asking.
The camera decodes QR, Aztec, Code 128, Code 39, Code 93, Data Matrix, EAN-13, EAN-8, PDF417 and UPC-E. It also reads printed text, so pointing it at a serial number stamped on a case works as well as pointing it at a barcode.
What happens next depends on what the payload is. A Starkive asset tag, or a pairing code from a Mac, is recognised structurally and opens the record immediately: there is nothing to decide. Anything else settles for a moment and then offers what it found, because a frame showing one barcode proves only that one barcode was legible in that frame, not that the label carries one.
Close is in the top left. The instruction over the viewfinder reads Point at an asset tag, or a pairing code on your Mac, and it names both because this screen reads both: the Mac’s pairing card points at this tab, and somebody sent here to pair should not conclude they are on the wrong screen.
What it looks like
The camera screens cannot be captured on a simulator, so these are the three steps either side of it: choosing how to identify the machine, entering it by hand, and the confirmation.
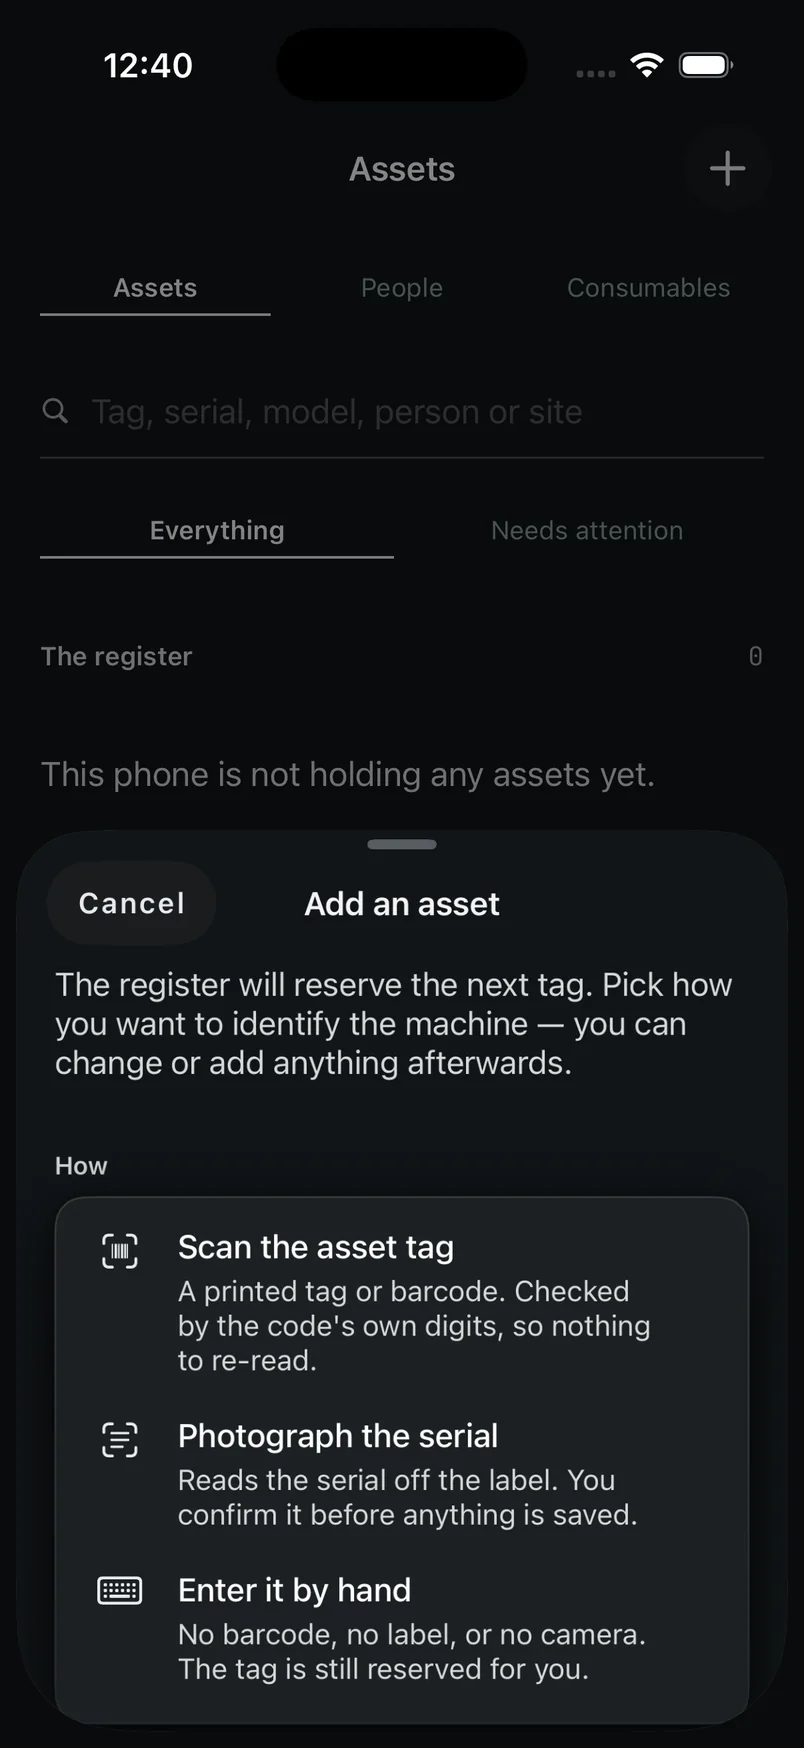
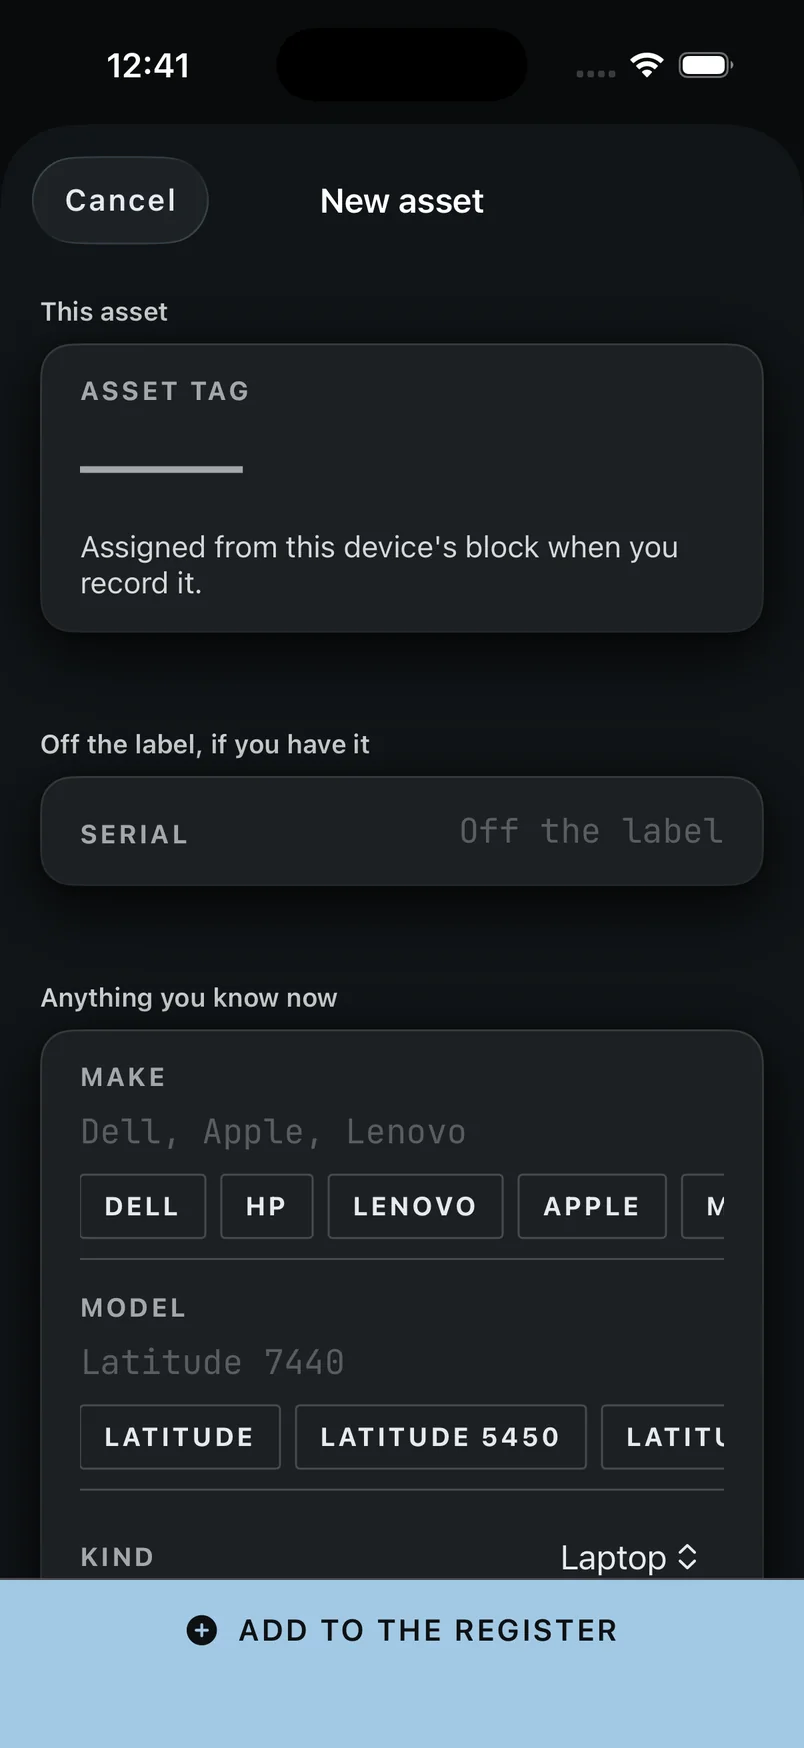
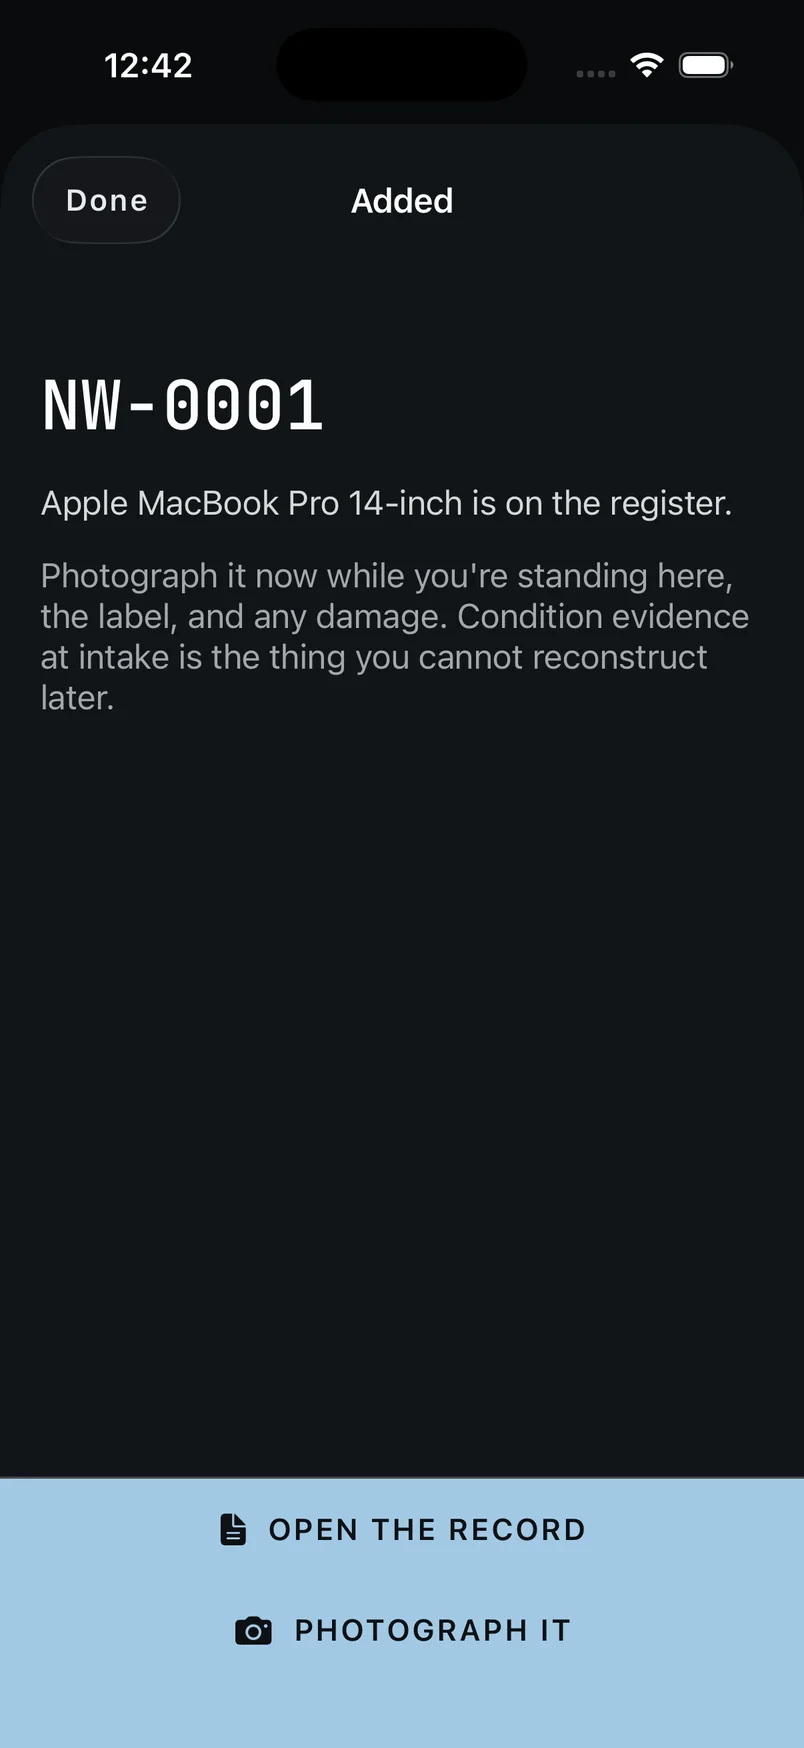
Reading a hardware label
A manufacturer's box carries three or four barcodes. Which one you get should not come down to which one the light favoured.
A frame is not a label. The scanner used to record the first payload to decode, and on a box carrying a part number, a serial and a product code that is whichever the decoder resolved that frame. So scanning an Apple box recorded the part number about as often as the serial.
Now every code in frame is read, and the payloads accumulate over a short quiet window before anything is decided. One payload in the window means one answer. Several means a chooser, and the chooser is the point: this screen reads barcodes and no printed text, so it cannot weigh the words beside a value. What it has is the identifier inside each payload, and where that says nothing the honest answer is to ask.
A leading S is the awkward case. It opens the serial marker in the MH10.8.2 prefix and it also opens plenty of real serials, and with no printed line to settle it both readings are offered. Picking one would be the guess.
Our own tags are exempt from the settle and stay instant, because they are provable from the payload rather than from how many things are in shot. Somebody pointing at an asset tag wants the record, not a menu.
When it asks which one
Several codes in one frame, one flat list, and the order is decided by what each payload says it is.
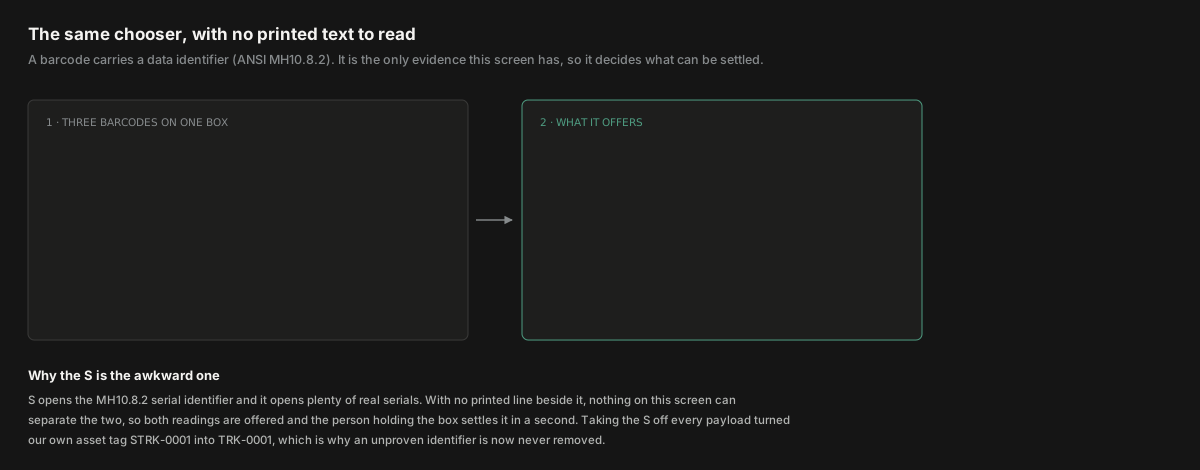
A barcode carries a data identifier before its value, standardised in ANSI MH10.8.2. 1P means customer part number, S means serial. Those characters ride inside the payload, so a serial barcode identifies itself and nothing has to be guessed from position or from which symbol decoded first. On this screen the identifier is the whole of the evidence, because there is no printed line to weigh it against.
The list comes back in three groups, and never ranked inside a group:
- Anything the identifier called a serial, first.
- Anything carrying no identifier this app knows, next, in the order it was read. An unknown identifier produces one of these rather than a guess.
- Anything the identifier called something else, last: a part number, a product code, or a value the label named as neither.
Each row carries the value and where it was read, and nothing more. There is no score, no percentage and no badge, and the row does not repeat what the label called it: you are holding the box, and the app telling you what it says reads as hedging.
One barcode, two rows
The case that surprises people, and the reason it is not a bug.
A single-character identifier is a weak signal. S opens the serial identifier and it also opens plenty of real serials, so a payload like SC02NQCC6FY17 has two honest readings: the whole string, or the string with the marker taken off. Both go on the list, next to each other, and the person holding the box settles it by looking at the print.
A multi-character identifier is a strong one. 1P, 30P and 1T are digit-then-letter, which is how the standard spells its qualified identifiers and is not how manufacturers open serials. Those are removed without asking, so 1PZ0QX0007L is offered as Z0QX0007L.
Taking the S off every payload turned our own asset tag STRK-0001 into TRK-0001. An identifier that has not been proven is never removed, and a payload containing a hyphen is not treated as identifier-prefixed at all, because data identifiers are followed by alphanumerics and our tags are not.
What is never offered as a serial
One rule, and it closes a fault that would be invisible until an audit.
An all-digit payload of 8, 12, 13, 14 or 18 characters is a retail or logistics code: a UPC, EAN, GTIN or SSCC. Every retail box carries one, and it is the same number on every unit of that model. Recording one as a serial makes a register that cannot tell two laptops apart, so it is classed as a product code and demoted before any identifier is considered.
Your own asset tags never reach this screen at all. A tag the app can prove is ours fires straight away and abandons anything else in the frame, because somebody pointing at a tag wants the record, not a menu.
The printed chooser works on the same screen shape and different evidence. See Capturing a serial for a label read as text, where the words beside a value are what decide the order.
The result card
A hit is drawn over the live camera. The camera keeps running.
A scan that found something used to close the screen and open the record: camera down, sheet up, hunt for Verify, tap, close, reopen the camera for the next machine. On a walk-round that is the whole job, and the record is a screen nobody asked for. The operator is holding the machine and knows what it is.
So the card sits at the bottom of the viewfinder and the viewfinder stays usable behind it. The card carries the asset tag, the machine’s described name, and the reason it is on the list, in the same words the register uses.
- VERIFY stamps the machine as seen. It is sized for a thumb pressed one-handed at arm’s length, with the other hand holding a machine.
- OPEN THE RECORD is there for the times you do want it, and is one tap away rather than the default.
- NEXT clears the card so the next machine can be read. The card is also dismissed by scanning the next machine, which is the usual way.
A verification that did not record says so on the card, in the same place a successful one says Verified. A refusal must not be quieter than a success.
When the camera will not work
Five states, five sentences, and one rule about which buttons may be offered.
The line over the viewfinder is the camera’s own account of itself, and it is not a single error message. A refused permission, a device that cannot scan, a camera another app is holding, and a session that stopped are four different troubles with four different remedies, and collapsing them into one sentence names no remedy for any of them.
- Starting the camera… while the session comes up.
- Point at an asset tag, or a pairing code on your Mac when it is running.
- Camera access is off. Turn it on in Settings, or add it by hand. with OPEN SETTINGS.
- This device cannot scan. Add it by hand instead. The Simulator has a camera and still cannot scan, which is why the sentence is not “no camera”.
- The camera is busy. Another app is using it. Close it and come back, or add it by hand. There is no retry button here on purpose: nothing in this app can take the camera back from whatever is holding it, and a button that fails in place teaches somebody that the buttons are decorative. Leaving and coming back is the fix.
- The scanner stopped. Add it by hand instead. The underlying error goes to a log, not to the one line an operator reads at arm’s length.
An alternative offered in answer to a failure must not depend on the thing that failed. Two of the three ways off this screen open a camera, so when the camera is what failed they are hidden and only ADD IT BY HAND remains. Otherwise a refused permission offers three ways out, two of them circles.
The three alternatives
They are different jobs, which is why they are three buttons rather than one.
- PHOTOGRAPH A SERIAL INSTEAD opens the serial reader. It is a different screen because it is a different technology and a different promise: nothing it produces is applied without somebody confirming it.
- SWEEP A RACK INSTEAD closes this sheet and starts a sweep. One asset you are holding, versus a rack you are walking past.
- ADD IT BY HAND needs no lens at all, so it survives every one of the failures above. A rubbed-off barcode, a machine with no label, a refused permission or a cracked lens used to mean the fleet could not be added to, on the device sold for recording hardware while standing in front of it.
The alternatives stand down while a result card is up. They are ways of answering “this scan is not going to work”, and one just did.
What the scan does not decide
The camera reads. It does not file.
A scanned payload that is not a serial does not become one. If the barcode says it is a part number, the serial field on the intake form stays empty and says why: That barcode is the part number, 1PZ0QX0007L. Scan the one beside “Serial No.” or “S/N” instead. A wrong serial looks answered and nobody re-checks it; an empty one asks to be finished.
A value that came from printed text rather than a barcode is offered for confirmation, because there is no checksum behind it. A barcode decode is checksum-validated, so a successful read is shown as settled text.
And a search term is a question, not data. If you searched the register for something and tapped add, what you typed is offered as a chip you can spend on the serial, the make or the model, rather than being written into the serial column on your behalf.
The camera reads on the device. Nothing about a scan leaves the phone. See Adding a machine for what happens after the tag is reserved.